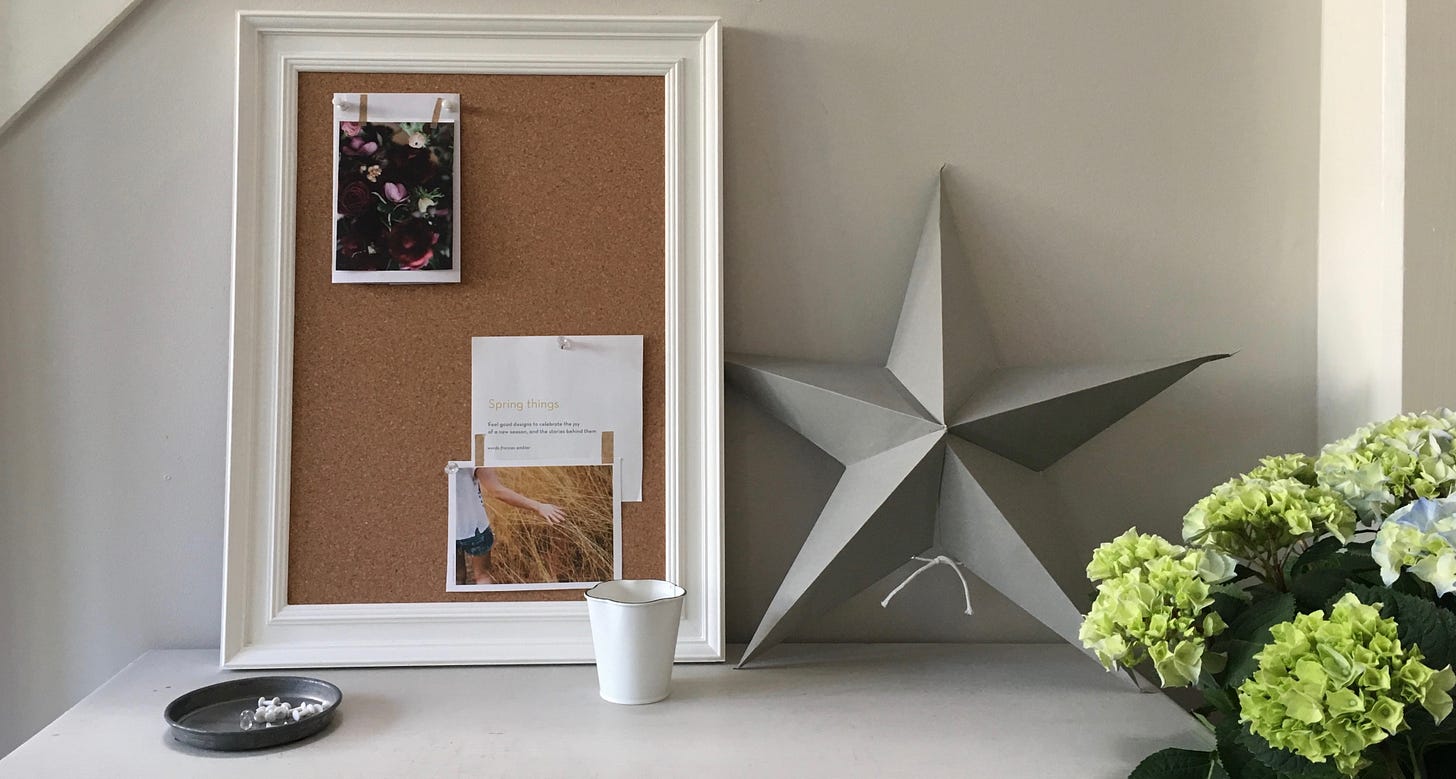
The cork pinboard is a staple in most homes, offices and workspaces. However, these are often flimsy things that are barely worth the effort of fixing to the wall, and rarely are they items that are pleasing in their own right.
Today’s post will guide you through the process of making your own perfect pinboard, to give you a noticeboard that you enjoy using and are happy to have up!
In my small business - The Framed Notice Board Company – I have been making framed cork pinboards (as well as framed magnetic whiteboards and blackboards) for more than a decade. I’ve always intended to share my process, and at last here it is: my guide to making the perfect cork pin board!
This tutorial does not cover frame making – which I intend to cover in a future post – so you will need to have made, found or bought a frame before you start. Any wooden picture or photo frame will do so long as the rebate is at least 1cm deep.
Get Ready: Materials & Tools
You will need these materials and some hand tools, most of which are in any home toolbox. The only tool you may need to borrow or buy is the Point Driver. If you are in the UK, you can purchase one of these from Lion.
Go: Let’s Do It!
1. Prepare Your Frame
Find a wooden frame that is a good size and style for your space and needs, which is sturdy, and which has a rebate at least 1cm / 10mm deep, to accommodate the cork and backing board.
Clean and clear the frame of any old metal fastenings, dust and loose paint or varnish. If necessary fill, sand, paint and/or varnish or wax it to the finish you want.
Then put it in a safe place!
2. Prepare Your Cork
With your tape measure, mark out a piece of framer’s backing board to the measurements of the frame rebate – maybe make it about 1mm smaller than the recess.
Put a new blade in your utility knife and, with your straight edge and some old card or carpet underneath to protect your work surface, cut the board to size.
Spread a thin layer of PVA glue over the card and lay it onto the wrong side of your cork sheet (if it has one). Weigh it down, and leave to dry.
Once the glue is dry, using your utility knife and straight edge, trim the excess cork around the backing board edges so that the piece is one neat size.
If you want to cover your cork with fabric, do this once the glue is dry. I have covered this technique in a separate post which you can read HERE.
3. Fix Your Cork Into The Frame
Cover your work surface with a clean towel or piece of bubble wrap, and place your frame right-side down on top of it.
Place your glued cork and board piece into the frame, cork-side down. Load some framer’s points into the point driver, and secure the cork into the frame. Use plenty of points, to really make this piece of cork board secure.
Please note, in the picture below, that my supporting (right) hand is not in-line with the point driver - you don’t want a stray framer’s point to end up in your hand or finger! If your frame is delicate or slim, it can be a good idea to use a length of wood to hold against the outside of the frame, to support it when you use the point driver.
You can see some short videos in my Instagram reels or my Pinterest posts.
4. Fix The Backing Board
Depending on how deep your frame is, you might need to cut another one or two sheets of backing board. You need to stack the pieces of backing board into the frame, until they are just a millimetre or two below the frame’s rebate.
Using the point driver, fix the additional layers of board in place.
Take the brown tape and run a strip around all four edges where the board meets the frame rebate, to cover the points and create a neat finish. Cut the ends off neatly with the utility knife.
5. Attach The Hanging Hardware
I prefer sawtooth hangers over picture framing rings and cord as there is much less movement when using the finished pin board.
Attach your sawtooth hangers using your screws and the screwdriver. If your frame’s wood is hard, you may need to create a pilot hole with an inexpensive bradawl.
Depending on the size of your frame you will need to attach one central sawtooth hanger, or two at each end of your frame’s top edge. I would recommend a single central hanger is only suitable for boards no bigger than A4 size.
Stick on the corner bumpers, if using. I find these really useful as they help the framed noticeboard to hang flat against the wall, and they also protect your wall from scuffs and scratches.
And you’re finished!
Need More Inspiration?
For ideas on noticeboard styles, have a look at my quick read on Organisation Inspiration: 5 Noticeboard Design Ideas.


