How To Make A Fabric-Covered Pinboard
In a previous post I took readers step-by-step through the best way to make a quality framed cork pinboard of their own.
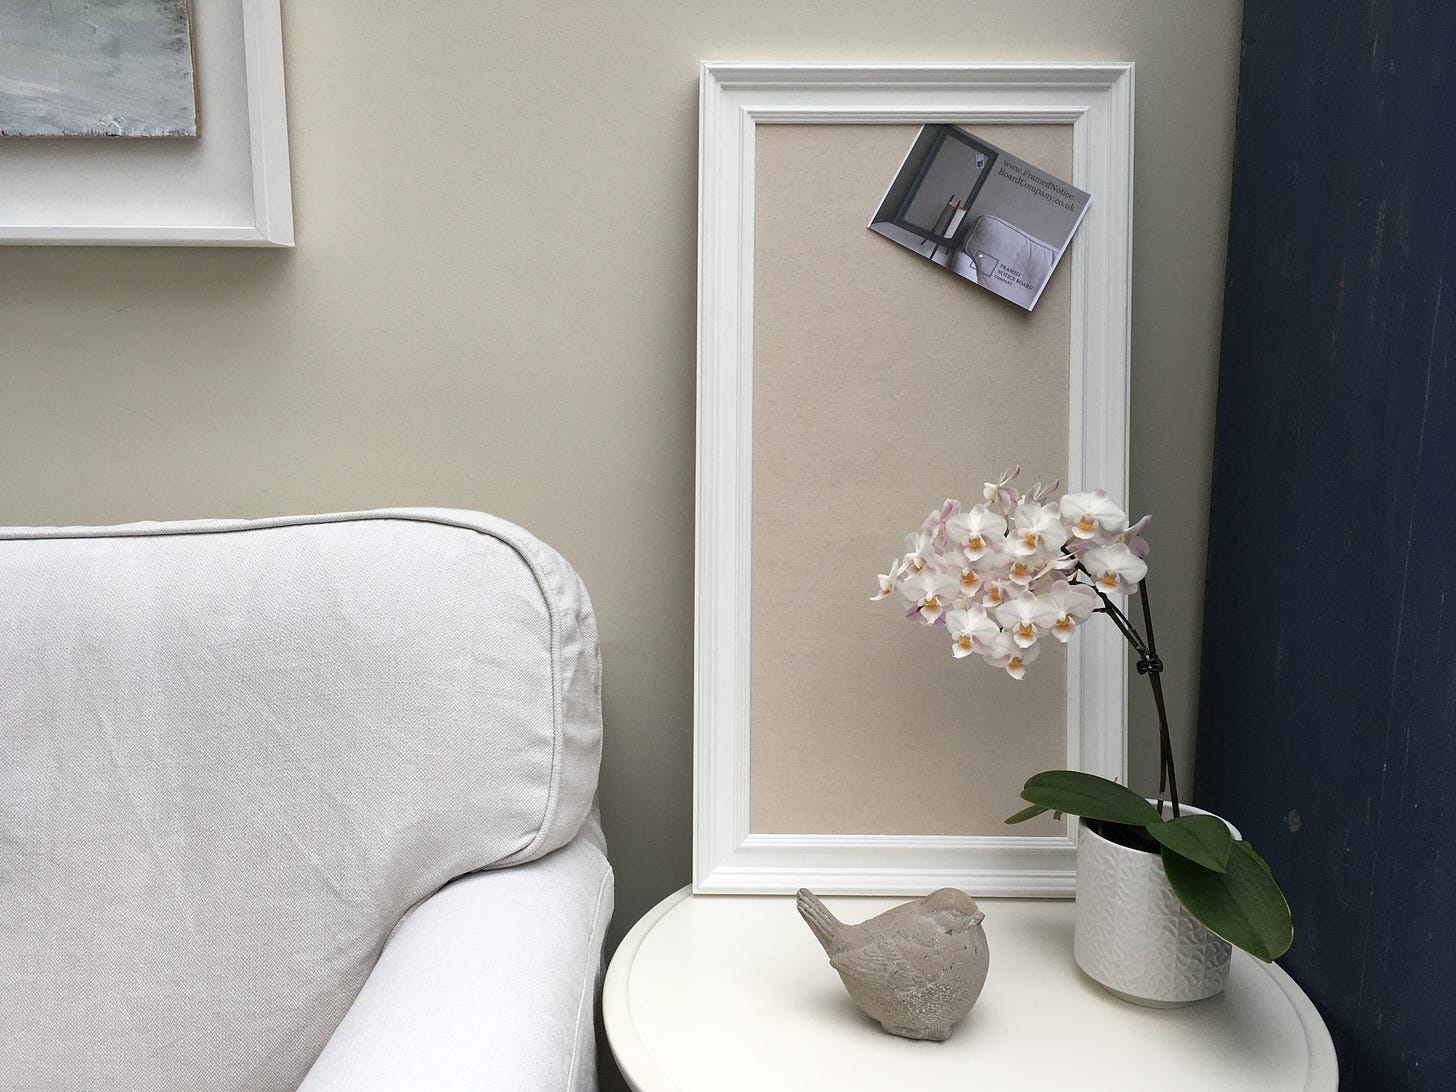
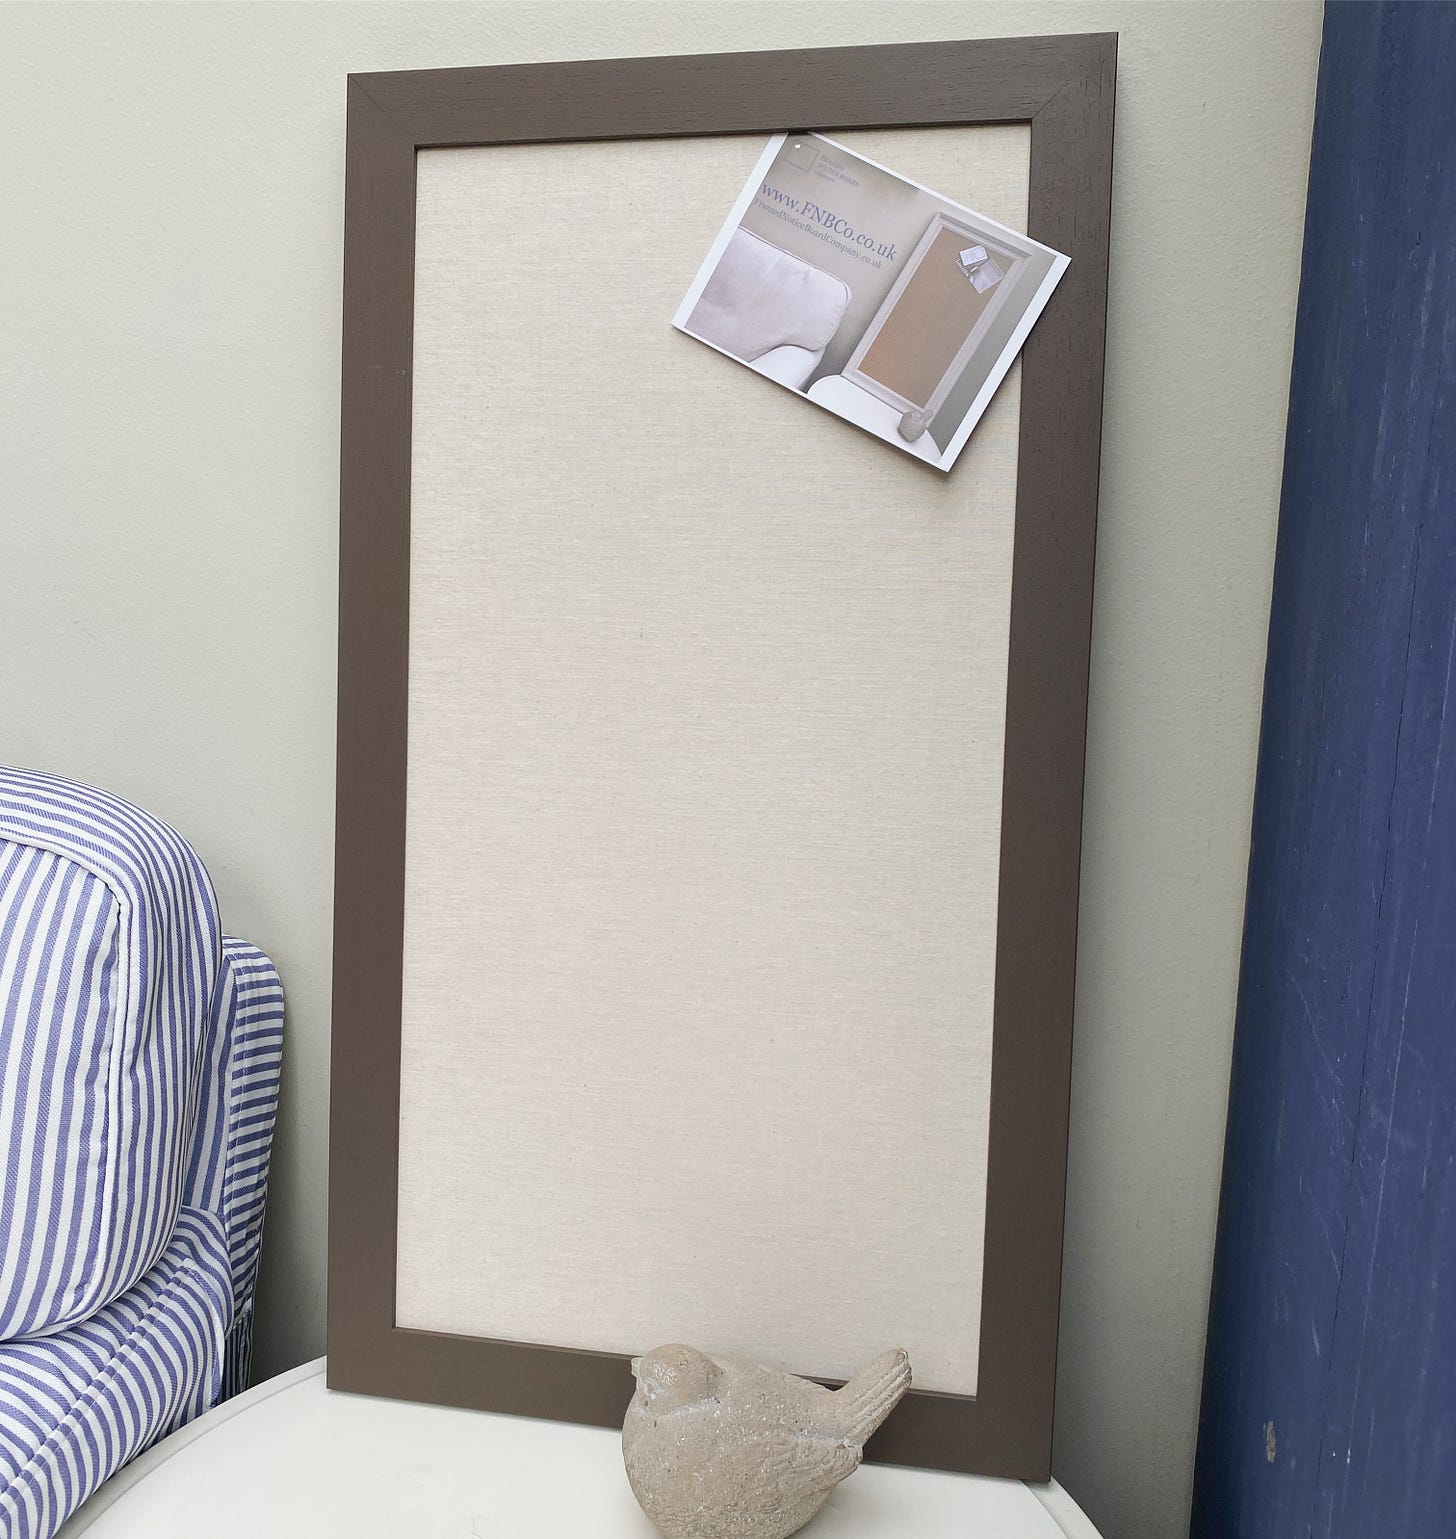
Here I’m going to add a step, for those who want their pinboard to be fabric covered rather than plain cork. Obviously this is a purely aesthetic consideration, but fabric covered pinboards are popular and can allow a noticeboard to blend better with the style of a room.
Unsatisfactory Methods
In my Framed Notice Board Company, I have been making handcrafted, custom noticeboards for more than a decade, but it’s taken me almost all of that time to perfect the method for covering cork with fabric. It sounds so simple, but it really hasn’t been.
All the research I did online showed methods that involved stapling the fabric around the back edge of the frame. I can tell you now that this does NOT give a long lasting, taut finish. It also means that the back of the noticeboard can be pretty unsightly. I really do believe that plain or painted cork would look better than most attempts at this finish.
Cork is a material which can absorb and release moisture from the atmosphere, swelling and shrinking accordingly. It’s not helpful at all! So, I’ve been looking for a reliable technique which grips the fabric to the cork - avoiding rippling, bubbling or sagging - yet which doesn’t create stains and marks on the fabric.
I have tested the solution I’m about to share in lots of different environments around my home. I left the fabric covered cork in a warm and humid utility room, on a shelf above a radiator, and finally in my unheated and damp workshop for three weeks. At the end of all this there was not a wrinkle or a bubble - perfect!
Solution
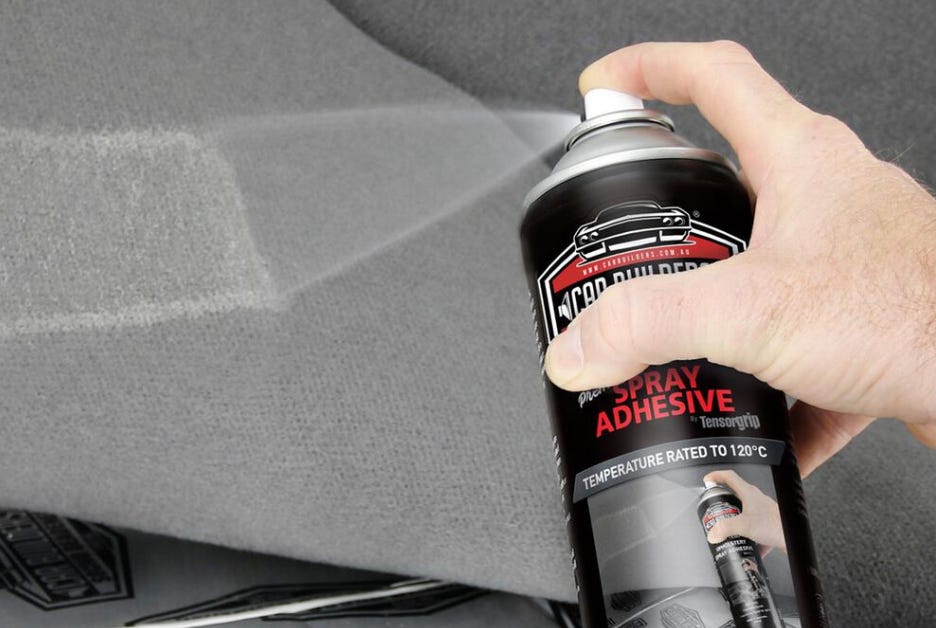
My solution is nothing new - it’s Car Upholstery Spray Adhesive - but the method I use to apply it is what has given the results I needed.
These spray adhesives are readily available on-line, and I expect they are all much the same as one another. However, the instructions on the can will tell you to spray both surfaces (in our case, the cork and the fabric) with the glue. This is NOT suitable for the cotton fabrics that I use for my pinboards - it is too wet and leaves permanent marks on the material.
Finally : The Method
1. Prepare The Cork & Fabric
So, at this point you have your cork and backing board all cut to fit inside the frame of your noticeboard. If your fabric is thick, or your cork is a very close fit in the frame, you may have to trim your cork down a little so that it will fit inside once the fabric is attached.
You want to cut your fabric so that there is a healthy overhang on the cork sheet - it will make things much easier. I aim for 10cm extra all around.
2. Prepare The Work Area
Work somewhere that you don’t mind getting dirty - ideally in a garage or workshop. On a large, flat surface, lay down a protective sheet. It’s also a good idea to protect your clothes from the odd, errant squirt of glue! (I’ve never felt the need to protect my eyes, but do check the safety instructions on your can of glue.)
3. Glue The Fabric To The Cork
First you want to spray the cork sheet, then wait until the glue has dried to a tacky finish. The trick is to always make sure that there is no wetness left in the glue before you lay the fabric over it. Any wet pool or bubble will leave staining on your material.
Once the glue is tacky, lay your fabric onto the glued side of the cork, smooth it down, and then REMOVE the fabric. This will leave a residual film of tacky glue on your fabric. Place the fabric somewhere clean, sticky side up.
Next, once again spray your pre-glued cork surface and wait for it to go tacky, before re-applying your fabric. This time the two surfaces should bond tightly.
4. Trim The Fabric
Finally, trim the material so that you have about a 5mm excess all the way around.
From this point you can resume at Step 3 on my previous tutorial, to finish making your perfect pinboard.
Fabric covered pinboards can make an elegant display board for a wedding or special event. Why not read how a noticeboard can help with the planning and organisation of a big celebration in my post on Wedding Vision Boards.


